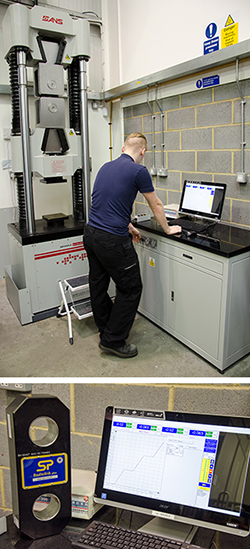
The process of calibration in any parameter is to compare an unknown instrument (known as “unit under test”) against a known instrument (usually known as a “reference standard”)
This will then determine the accuracy and /or repeatability of the unit under test.
The reference standard therefore must be verified as accurate at given intervals, and the calibration must be traceable back to national standards held by the National Physical Laboratory or NPL.
Traceability
Calibration of all SP test rigs are carried out annually by a UKAS 3rd party calibration providor to:
- ISO7500-1:2015
- ASTM E4:14
The 3rd party calibration company shall use reference standards that are verified themselves to:
- ISO376:2011
- ASTM E74:13a
This is the basis of traceability in calibration.
When SP create any certificate of calibration, they make reference to the testing machine used and the traceability back to the 3rd party calibration body.
By doing this SP create traceability of calibration, which then assures the customer that their calibration could be traced back to national standards if required.
This refers to the statement on certification “all measurements are traceable to national standards”


